
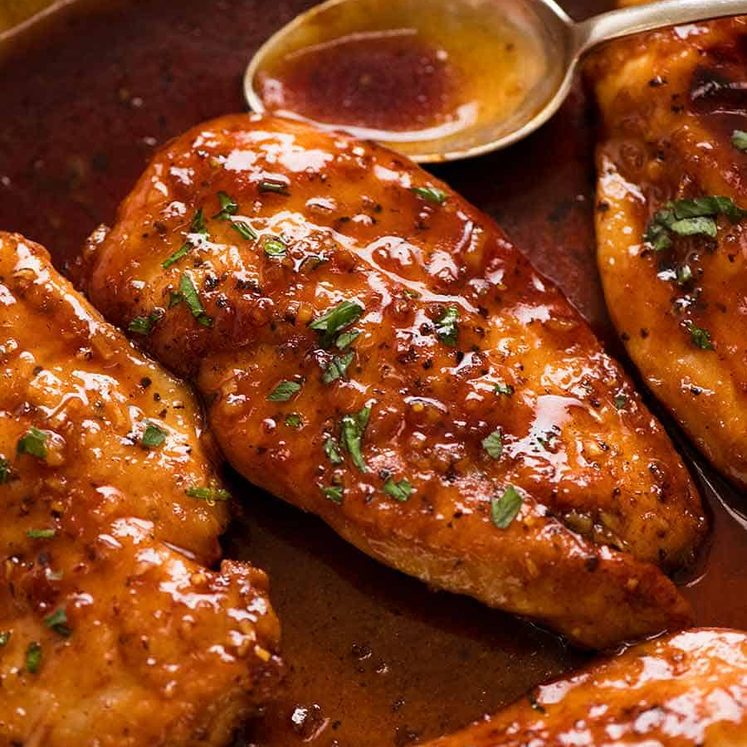
If you’re wondering what Chicken Kiev is, all you need to know is this: it’s crumbed and fried chicken stuffed with melting garlic butter. Totally retro, totally simple but totally fabulous and quite possibly the greatest use of chicken breast, ever!
The trick to ensuring the melted butter stays firmly sealed inside? Partially freezing the chicken so the chicken is keep firmly in place. Yep, it’s that easy! {Bonus no deep frying option provided}

Chicken Kiev
Stuffed things are good things. Dumplings. Profiteroles. Samosas. The anticipation of cutting into something that looks so plain and unassuming on the outside to reveal something wickedly good on the inside, is like opening a tantalising birthday present.
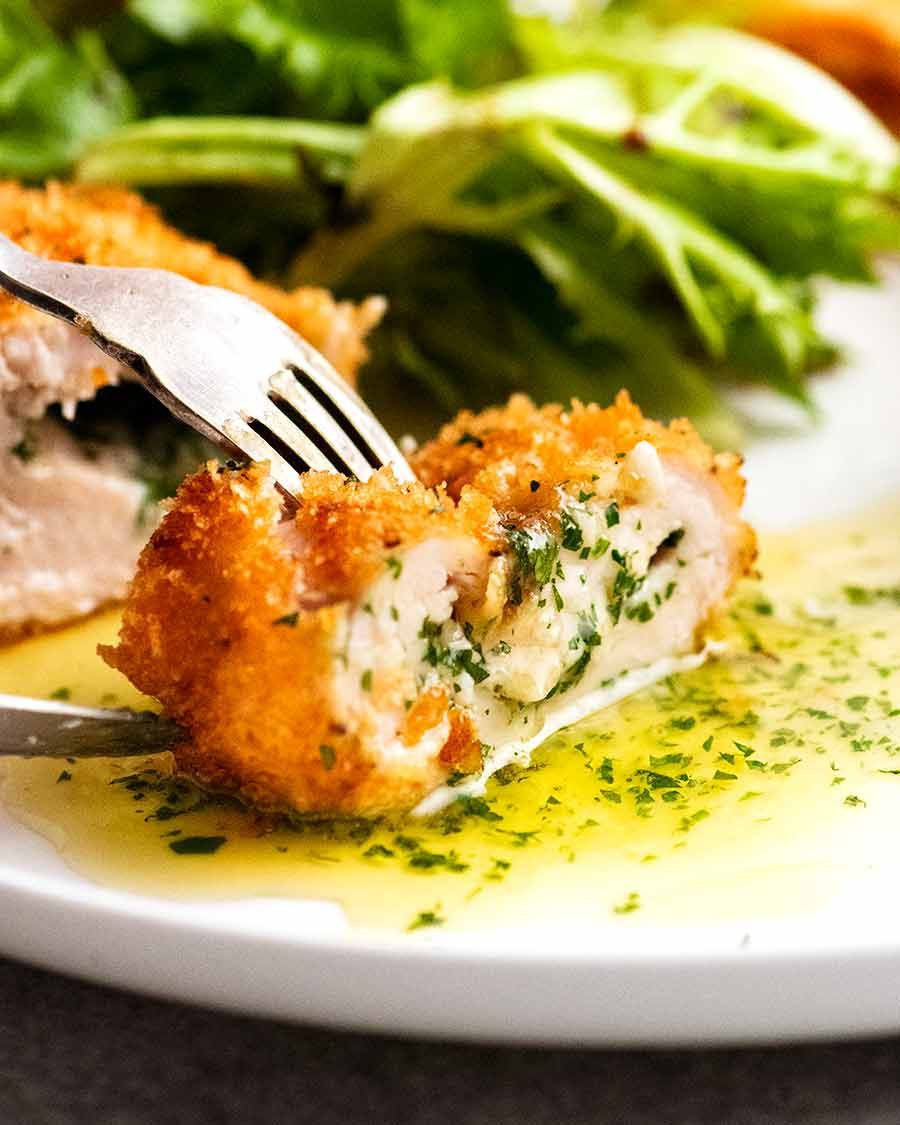
Of all the stuffed chicken dishes in this world, Chicken Kiev is surely the king of them all! Stuffed with rich garlic butter, this Russian beauty is all kinds of incredible. Cutting through that crunchy, golden breadcrumb crust and into the juicy chicken flesh, a river of molten butter oozes from the meat across your plate – it’s a heart-stopping moment of joy that few things in this world can rival. In fact, right now I can’t think of anything that does!!!


What goes in Chicken Kiev
Garlic butter stuffing for Chicken Kiev
Here’s what you need to make the garlic butter that goes inside Chicken Kiev:
Butter – Of course! Softened and unsalted;
Garlic – Finely minced using a knife or using a garlic crusher;
Salt; and
Parsley – Finely chopped.

Crumbed chicken for Chicken Kiev
And here’s what you need to make the crumbed chicken:
Chicken breast – The best cut for pounding into a large, flat “sheet” used to roll up the garlic butter;
Panko breadcrumbs – Better than ordinary breadcrumbs because they’re slightly larger pieces which yield a better crunch!
Flour and egg – The binding agents to make the breadcrumbs stick to the chicken.

How to make Chicken Kiev
It’s as straightforward as it comes:
Roll up pounded chicken breast with garlic butter inside;
Crumb chicken;
Fry; then
Bake, to finish cooking.
Do you have to deep fry?? For a true Kiev experience, yes you do. BUT for the very best full baked no-fry option using a much loved breadcrumb toasting method used in this Chicken Tenders recipe, see Note 6 of the recipe card!
Part 1. Garlic butter stuffing for Chicken Kiev
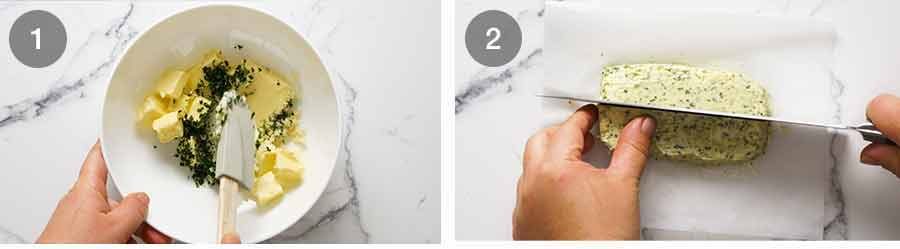
Mix the softened butter with salt, parsley and garlic until smooth;
Spread butter on to parchment / baking paper into a 10 x 6cm / 4 x 2.3″ rectangle. It doesn’t need to be perfect, just roughly is fine!
Refrigerate until firm, then cut lengthwise into 2 pieces.
Part 2. Stuffing the Chicken Kiev
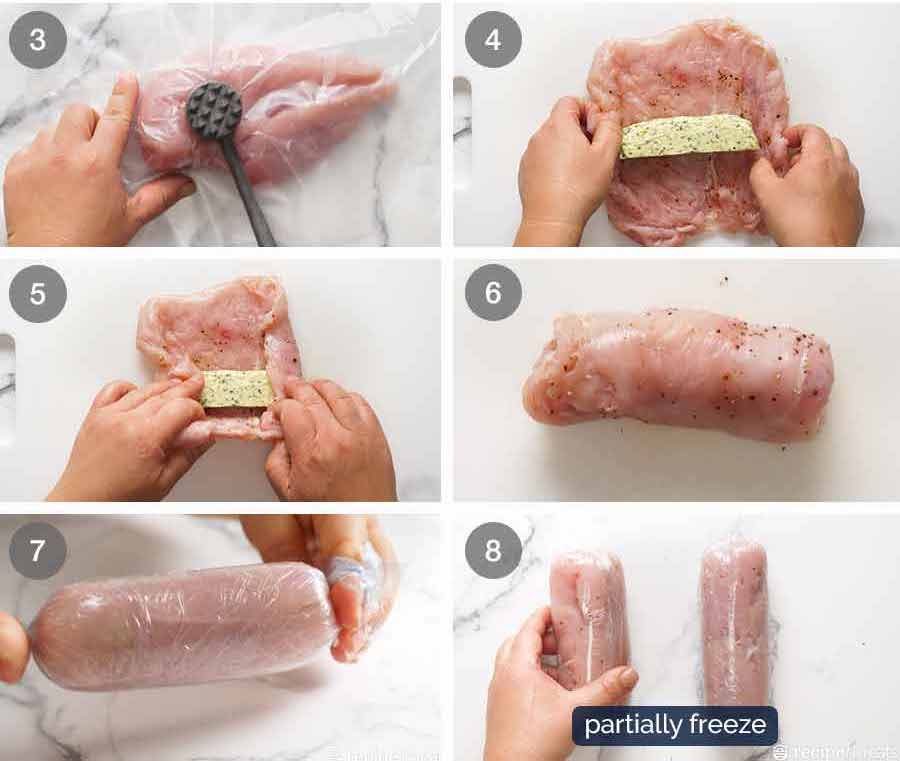
Pound chicken – Place a chicken breast between two freezer bags (or, as I do, use “Go Between” freeze film). Place the chicken presentation side down so that side stays neat and flat.
Now pound the chicken using a meat mallet (or rolling pin, can, truncheon or other tool of choice) until it is 0.5cm / 0.2″ thick. In a perfect world, you’d achieve a neat rectangle shape. But the world is not perfect. So if you’re like me, you’ll end up with scrappy bits and a wonky shape, and that’s totally ok.
Just be careful not to tear the chicken. But if you do, don’t worry, we will patch it up to keep all that golden garlic butter goodness inside!
Season and stuff – Season the chicken breast with salt and pepper. Then place a baton of butter in the middle;
Wrap – Fold the sides in. Then starting from the bottom, roll the chicken up into a log (like a burrito!);
Finish with the seam side down so it stays together;
Wrap with cling wrap, twisting the ends so it tightens into a log; and
Freeze for 30 minutes to partially firm for easier handling when coating with breadcrumbs, and to ensure the chicken stays sealed for less risk of butter leakage.
Part 3: Coating and cooking

Flour – Once the outside of the chicken is fairly firm to touch (but not rock solid frozen), unwrap and roll in flour. Make sure you coat the ends too. Then shake off excess;
Egg – Next, roll in lightly whisked egg;
Breadcrumbs – Then roll in breadcrumbs, pressing to adhere;
Partially freeze again – Place the crumbed chicken back in the freezer for 30 minutes to partially freeze so the outside firms up again. As with the first partial freezing, this ensures the chicken holds its shape and the crumb coating + chicken wrapping doesn’t shift when putting the chicken in the oil so it remains sealed to keep the butter inside;
Fry until golden – Next, fry the chicken until it’s golden on the outside, just 2 to 3 minutes. It will still be raw inside, so we will finish it in the oven. We can’t cook it completely when deep frying because the shape of the Chicken Kiev is too thick for it to cook through inside before the outside becomes overly brown.
For a no-deep fry option, see Note 6 of the recipe (it involves oven toasting breadcrumbs, simple and highly effective!); and
Bake – Finish in the oven for 12 to 15 minutes or until the internal temperature of the chicken is 65°C / 149°F. When inserting the tip of the meat thermometer to check, be sure to only pierce the flesh partway through so you don’t make a hole that causes the butter to ooze out!


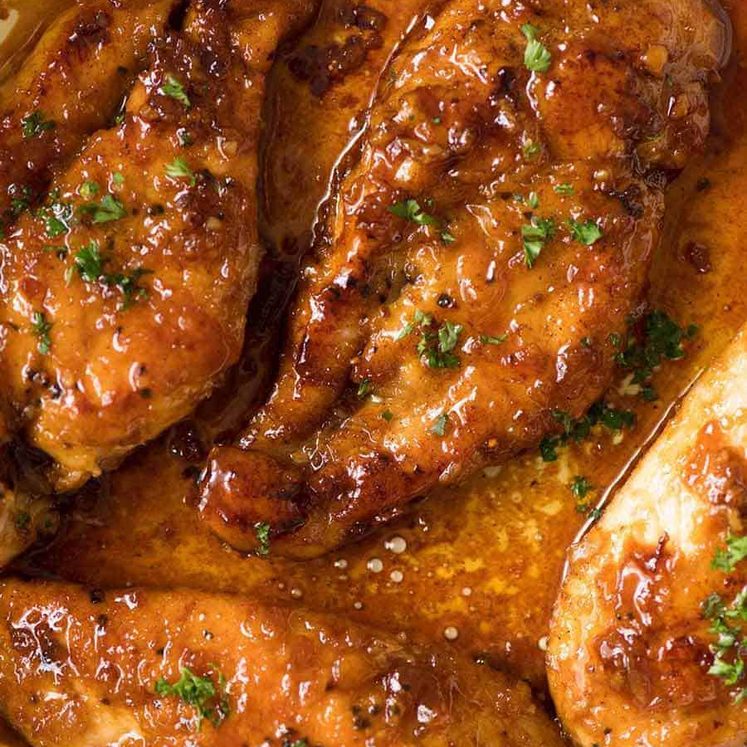
The Kiev looks so quiet and unassuming, out of the oven!! But then you cut into it. A small dribble of butter starts leak out …

…. keep cutting and the dribble turns into a butter torrent as you cut all the way through! ↓↓↓
That moment when the butter spills out of the chicken and all over your plate like a self-saucing chicken dinner is one of the most satisfying food moments you’ll ever experience.
It might be retro, but food this good will NEVER go out of fashion, for good reason!
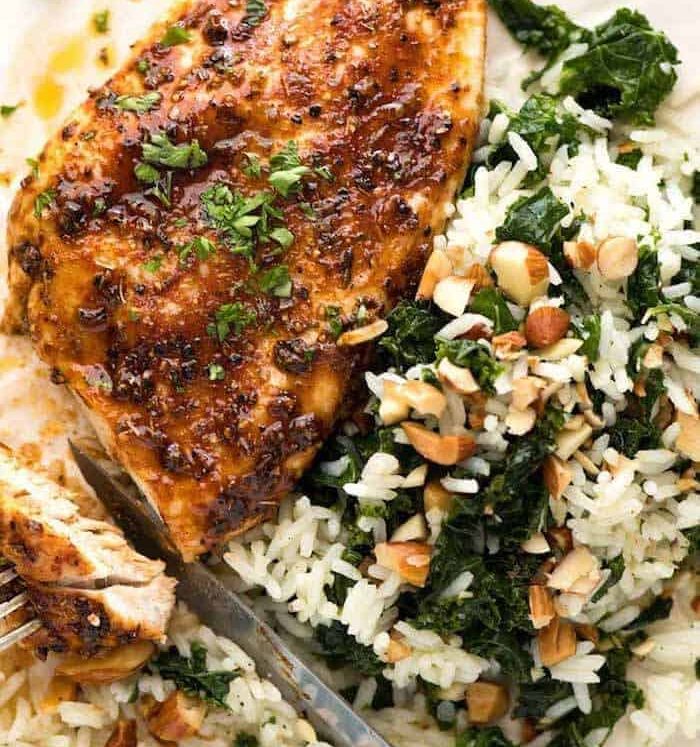
Serve this decadent chicken dish with a big leafy salad tossed with a simple salad dressing. If you want to go all out, do as I’ve done and add a side of Mini Potato Dauphinoise! Though if that’s not within your reach or time constraints are inhibiting you, at least add a side of mashed potato or crusty bread as the perfect vehicles for mopping.
Enjoy! – Nagi x
Watch how to make it
Hungry for more? Subscribe to my newsletter and follow along on Facebook, Pinterest and Instagram for all of the latest updates.

Chicken Kiev
Ingredients
Garlic Butter Stuffing:
- 6 tbsp / 90g unsalted butter , softened (or salted butter)
- 2 tsp parsley , finely chopped
- 2 garlic cloves , very finely minced (2 tsp)
- 1/4 tsp salt (skip if using salted butter)
Chicken:
- 2 x 220 – 250g (7 – 8oz) chicken breast , skinless and boneless (Note 1)
- 1/2 tsp salt
- 1/4 tsp pepper
- 1 egg , lightly whisked
- 1/4 cup flour
- 1 cup panko breadcrumbs (Note 2)
- Oil for frying , canola or vegetable oil (~4 cups / 1 litre)
Serving:
- Parsley , finely chopped (garnish)
Instructions
- Garlic butter filling: Place ingredients in a bowl and mix until combined.
- Shape and chill butter: Scrape butter on to a small sheet of baking / parchment paper and roughly shape into 10 x 6cm / 4 x 2.4" rectangle. Refrigerate until firm, then cut in half lengthwise to form two batons.
- Pound chicken: Place chicken smooth side down between two freezer bags or paper (Note 3). Pound to an even 0.5 cm / 0.2" thickness using a meat mallet (Note 4 for tips!)
- Season: Sprinkle each side of the chicken with salt and pepper.
- Stuff and roll up chicken: Place a baton of butter in the middle. Trim edges if needed, then add trimmings into the centre. Fold sides in over the butter, then roll the chicken up starting from the bottom, finishing with the seam side down.
- Wrap and partially freeze: Wrap the chicken log in cling wrap, twisting the ends tightly to create a firm log shape. Place in the freezer for 30 minutes until the surface is fairly firm to touch, but not frozen solid. (Note 5)
- Crumb: Place egg, flour and breadcrumbs in separate bowls. Coat chicken in flour, shaking off excess. Coat in egg, drip off excess. Then coat in breadcrumbs, pressing to adhere.
- Partial freeze: Place crumbed chicken in the freezer for 30 minutes until fairly firm to handle (but not frozen solid).
- Preheat oven to 180°C / 350°F. Place a rack on a tray.
- Fry: Heat oil in a heavy based pot to 190°C / 375°F. Carefully place chicken in the oil and cook, turning once or twice, until golden (2 – 3 minutes). It will still be raw inside.
- Bake: Place chicken on a rack and bake for 15 minutes or until the internal temperature of the chicken is 65°C / 150°F. Pierce the top so you don't cause butter leakage!
- Rest for 2 minutes, then serve, sprinkled with a pinch of parsley if desired!
Recipe Notes:
Nutrition Information:
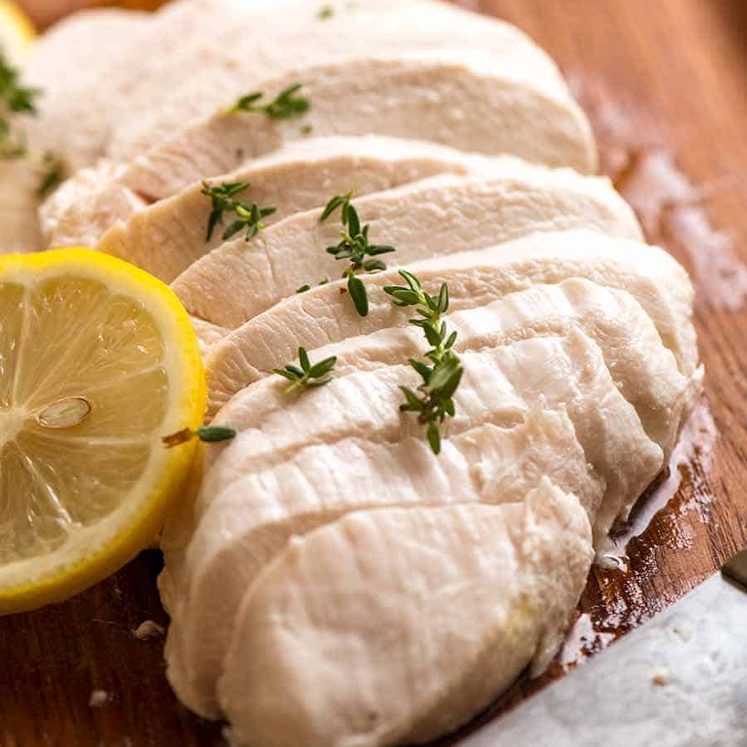
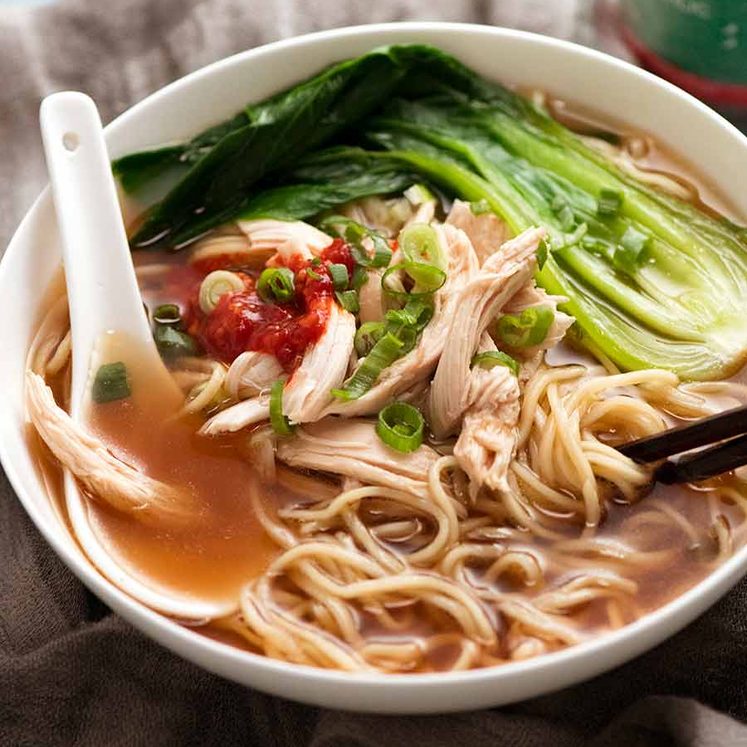
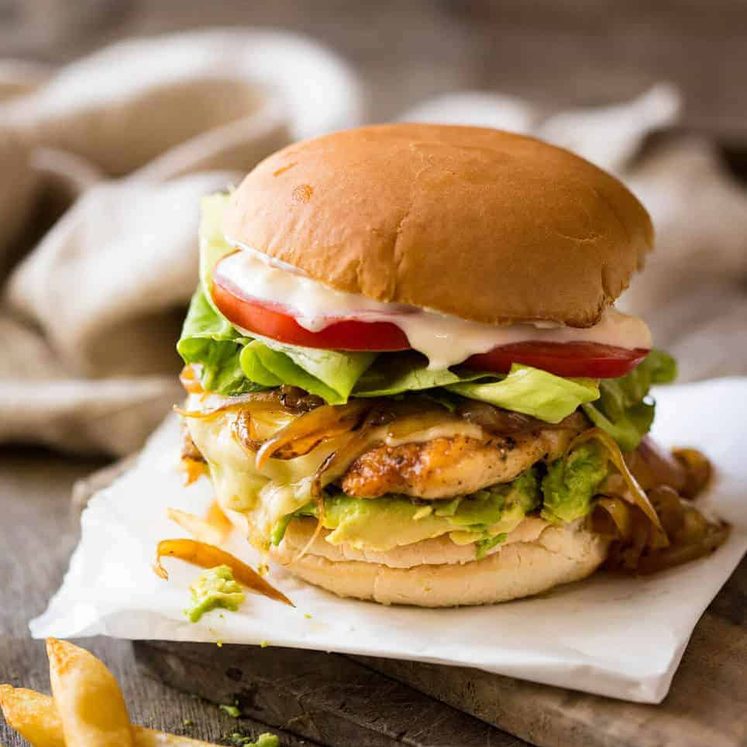
10 mouth-watering ways with chicken breast


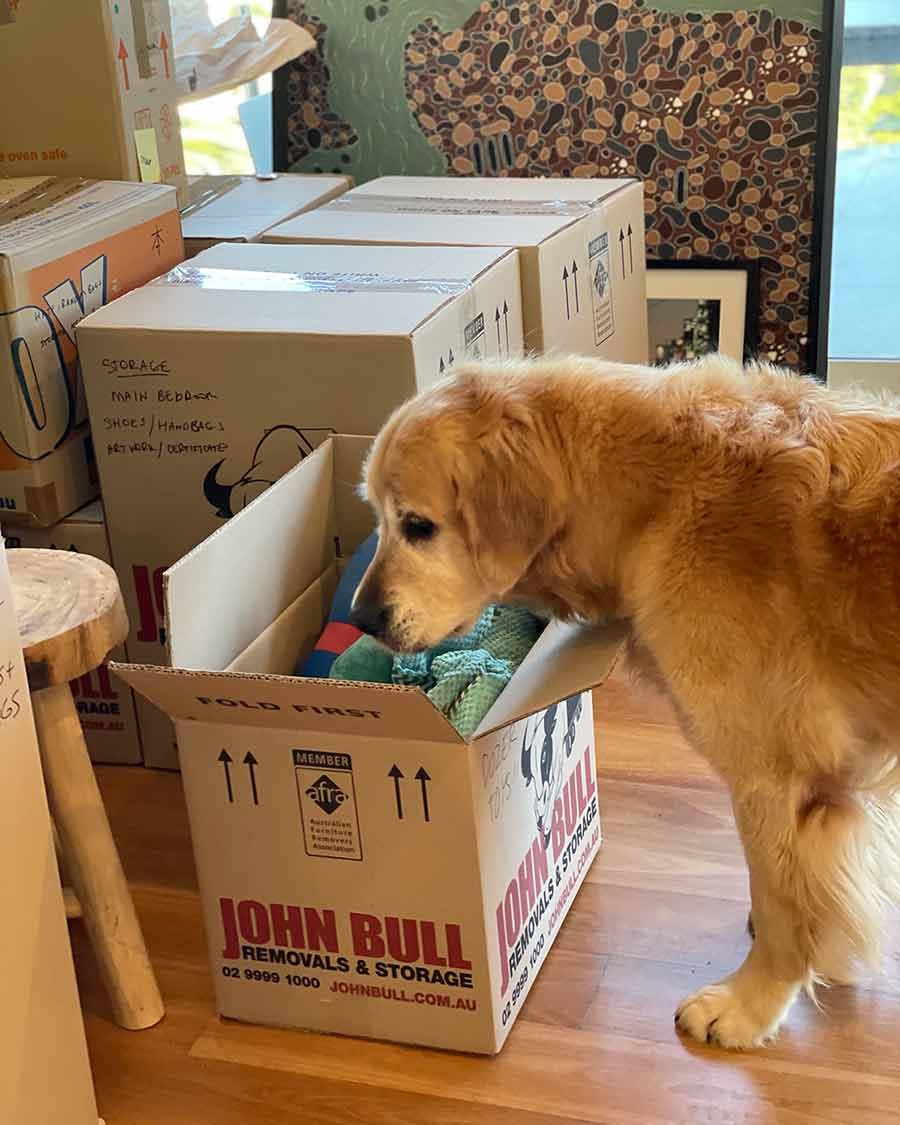
Life of Dozer
On the move…again!!! Getting a little renovations done, and I fully intended to live through it. However, I was strongly advised against it by “everybody” so I’m moving out for the duration of the build.
Dozer started to express concern when he saw his toys being boxed up…….
Forgive me for being a pedant but Kiev (now Kiev) is the capital of Ukraine and not a Russian city … just saying.
Ukraine was a part of the USSR for many years. Ukraine became independent in 1991. I was making Chicken Kiev long before 1991.
True, but it’s not that simple. From Wikipedia: “While the roots of chicken Kiev can thus be traced back to French haute cuisine and Russian cookery of the 19th century, the origin of the particular recipe known today as chicken Kiev remains disputed.” It appears that the provenance of the dish is part French and part Russian, despite the reference to Kiev.
I am not a fan of deep frying but I wonder how this would go if you just shallow fried but browned on all sides (like I would do a schnitzel) before putting in the oven. Could it work or won’t it get anywhere near cooked enough to complete in the oven successfully?
I did shallow fry…maybe slightly more oil than I would use for schnitzels and they turned out just fine. Also, because I am hopeless I didn’t fully read the instructions and missed that there was a second freezing time so it only got half the freezer time as it was getting really late…they still worked fine with oozy butter and they were delicious.
Oh my stars (5)! My daughter made this for dinner and it was simply DIVINE! Naji’s methods are so easy to follow and this dish looked so difficult but was worth every second of time it took to prepare! It was simply the best chicken dish we’ve ever prepared!
Thank you Naji and best of luck on your Cookbook!
Nagi where are you?
I haven’t had a recipe for ages & I also miss Dozer.
I am worried I hope you are well. Please continue your wonderful recipies. Love Sharon
I am still working on my cookbook Sharon – HUGE project! It’s due out in Oct 2022…hoping to be back online posting shortly but until then you can find me (& Dozer!) on Facebook and Instagram! https://promotown.info/making-of-a-cookbook-part-2-the-cookbook-vortex/%3C/a%3E N x
Oh I’m so glad that your absence was nothing to do with Covid. Good luck with the Cookbook I bet it will be a Smasher. Give Dozer a kiss for me. & a hug for you.
My husband made this for dinner awhile back. It was so yummy. I made tonight with rice and extra butter sauce. This recipe is a keeper, the only change I made was adding more garlic
I did it with thighs, of course, I had to make adjustments. In sizes and quantities but it turne out 10 stars according to my husband. The butter was not fully covered by meat but not a drop was lost I put a small rack on top of individual ramkins, baked in oven (no frying) some butter dripped into the ramkin, no problem, when thighs done each was placed in the same ramkin that was under it….no butter lost. I did need to increase cooking time to 30 min and had to raise
cooking time to 375-400 for the last 7-10 minutes to insure cooked enough and panko nice and brown.
has anyone tried this with boned thighs? We do not like the breast meat.
Using herbs de Provence instead of parsley..add garlic, butter, and hymilayan salt-cracked pepper. You can just add herbs to the egg mix before the pankos..put garlic powder in there too and filet on stovetop..
I’m confused!! The recipe says “toast breadcrumbs sprayed with oil until golden and crunchy. Cool, the use to crumb the Chicken Kiev. Bake 20 minutes.” ??? Cool the use to crumb chicken??
Ooops! I think that’s meant to read “Cool then use to crumb the chicken.” Will fix that up! N x
Made this today for lunch OMG sooo good ! Last time I made chicken Kiev it was pre made ..safe to say making from scratch yourself is sooo much nicer and this recipe is truly fool proof. Thanks nagi
This turned out amazing!! I was worried about the butter leaking but everything remained intact!!
If I make these ahead, how long do I need to thaw the day of in refrig?
After making so many of your recipes successfully, I’m gonna try this, it looks epic! My question is, I’d be making it for the hubby and two young kids, both eat like birds and no way they’d finish a whole breast each. How do you think mini kievs would go? Could I just cut a breast in half and then halve all other ingredients? Obvs the cooking time would be affected… could it be done, do you think?
Made this AGAIN today. Totally worth all the faff to have that glorious garlic butter ooze out. The little hacks are just genius. 😘
This recipe worked very well for me and was really succulent and tasty. I noted previous comments about the oven time needing to be longer. However, I could not see a temperature for the oven and used 180 degrees for 20 minutes and it came out at 67C and was just beautiful. Cooked for friends and went down well.
My son made these kievs for my birthday and they were great. He forgot to check we had breadcrumbs so coated them in crushed corn flakes. Like other people commented here it took longer to get 65C but he found it easy to do and I may get more in the future. We always bake store bought kievs in gratin dishes in case they break and one did this time but still delicious and nothing was lost.
I have made and they are great but my breasts sometimes come undone but the butter is still in tact – is it an option to butterfly the chicken before pounding it – my mallet tends to butcher the chicken and it comes off the breast???
This was so helpful as I’ve never made a successful kiev until now. I found it easier to make a batter consisting of 1tbl mayo, 1 egg and 2tbl of corn flour and whisking it altogether, dip the chicken in this batter then the breadcrumbs…It means you have clean hands and the coating sticks better. I double coated mine and they were awsome
Great to hear Liz!!! – Nx
I love this recipe, chicken Kiev is my Favourite meal of all time. Unfortunately my husband prefers the Creamy Garlic not the Butter Garlic like myself. Any recommendations for a creamy Garlic feeling so we both can be satisfied. Thanks
Here’s an idea (untested!): could you sub half or 3/4 of the butter with cream cheese and/or sour cream? It’s a risk but you’d probably get a creamy centre…
Nagi, I sure feel your pain. We have been out of our house for four months now for a major renovation. It does go by quickly. Can’t wait for my new kitchen! Made this recipe and was absolutely delicious. I did fry it and then bake it. Mine wasn’t fully cooked after 15 minutes for some reason. It looked so heavenly when I made that first cut into it. Back in the oven it went for another 10 minutes. I was so disappointed, but it still was absolutely delicious. Way to go on sharing another incredible recipe and making me look like a way better cook than I really am. Good luck on your project and kisses to Dozer.